Installing
on Mac OS 9
Installing
on Mac X and OS X Server
Troubleshooting
Resources
Web Crossing requires that your Mac OS PPC server be running at least Mac OS 9.2 and Open Transport 1.3. Naturally a G3 or G4 with lots of memory is best because since the G3 models were released, networking has become much faster. Older PowerPC models are generally pretty sluggish about pushing data across a network.
The Mac OS installation is arguably the easiest. All you do is decide whether to run in Direct Web Service or CGI mode and then drag the installation icon over to your destination hard disk.
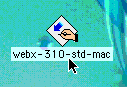
First double click on the installer icon, shown in figure 1, to start the installation.
Figure 1 - double-click on this icon (on your computer, not here!) to start the installer
Then click OK when the installer intro window pops up, as shown in figure 2.
Figure 2 - the installer program intro window

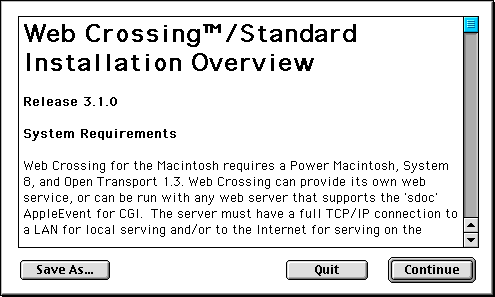
Next, go over the installation overview, shown in figure 3, and click the Continue button to proceed.
Figure 3 - the Mac installation overview
On the next window, shown in figure 4, you can choose the type of installation and the destination hard disk for your installation.
Figure 4 - choosing installation type and destination drive
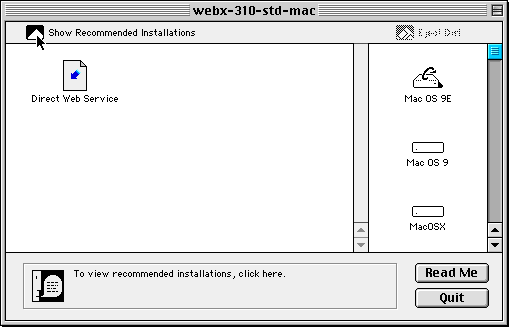
If you click on the Show Other Installations icon in the top-left corner, the installer icon in the middle window will toggle between Direct Web Service and CGI Mode.
If you want to run Web Crossing as a CGI under an external web server, such as WebSTAR, then choose CGI Mode, but we don't recommend it unless you have a compelling reason to do so - there are significant advantages to using Direct Web Service mode. Direct Web Service mode allows you to run Web Crossing as a stand-alone server without using an external web server. Web Crossing's performance is at its peak in direct web service mode.
After you have made your selection, drag the installation icon from the middle window to one of the hard disk icons that appears on the right side of the window. Web Crossing's files will be automatically installed in the selected drive.
If you chose CGI Mode, you will also be prompted for the location of your external web server's root directory, because an alias to the Web Crossing application must be placed there to run properly in CGI Mode.
Finally, go to the installed Web Crossing folder on your selected drive. Double-click on the Web Crossing application icon, as shown in figure 5, to start your server.
Figure 5 - the Web Crossing server application

When you double-click on the Web Crossing icon, the server will start up. This might take 10 seconds or more, depending on your machine. Wait until the start up window disappears by itself and proceed to Connecting for the First Time and go through the basic setup of your server.
Installing on Mac OS X or OS X Server
Web Crossing for Mac OS X or OS X Server requires at least 10.2.
There are two Mac OS X/OS X Server installation packages. The simplest is an easy to use Apple installer to install in Direct Web Service mode running on port 80. The other uses a Unix command-line terminal installer. Power users can use the terminal installer to install in either CGI Mode or Direct Web Service mode, or to set a web services port other than 80. If you're not familiar or comfortable with the Unix terminal, use the Apple installer for Direct Web Service.
If you want to run Web Crossing as a CGI under an external web server, such as Apache, then choose the terminal installer and use CGI Mode, but we don't recommend it unless you have a compelling reason to do so - there are significant advantages to using Direct Web Service mode. Direct Web Service mode allows you to run Web Crossing as a stand-alone server without using an external web server. Web Crossing's performance is at its peak in direct web service mode.
Be sure to download the installer you need. The terminal installer has "cgi" in the filename. The Apple installer has "std" in the filename.
If you want to use the terminal installer, you can download the archive and use Stuffit Expander (or the application of your choice) to expand the archive, but then you will need to follow the instructions for installing Unix servers using the Terminal.
The instructions for the Apple installer follow:
Start up the installer by double-clicking on the package icon.
Figure 6 - Apple package installer

Read the startup screen. Note that:
Read the overview and click Continue when you're finished.
Read the license agreement and click Continue and then Agree
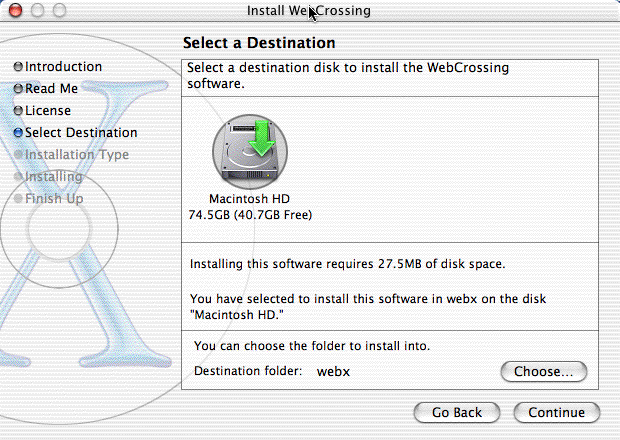
Select the drive you want to install onto. (See figure 7). If you are happy with the default location of /Applications/webx, click Continue. If you want a different location, click Choose and navigate to the folder you created earlier. To upgrade, select your existing /webx folder at this step. When you're ready to go on, click Continue.
Figure 7 - Choose a drive and a folder
On the next page, click Continue to begin the installation.
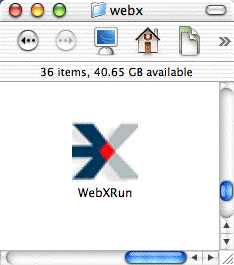
When the installer is finished, open the /webx folder and double-click the WebXRun application (see figure 8). You'll be asked for an administrator password. Web Crossing will start up for the first time, and in 10 or 20 seconds you should be able to connect to your IP address or domain name through your browser to finish the basic setup of your server as in the instructions in Connecting for the First Time.
Figure 8 - Start up Web Crossing
I accidentally installed in CGI Mode when I really wanted to install in Direct Web Service mode (or vice-versa). What should I do?
I wanted to install for OS X in a location other than /Applications/webx, but I forgot to create a folder first, and now I have Web Crossing files all over my directory!
Refer to the documentation included with your installer for the latest release information.
Web Crossing FAQ: